Installing wallpaper can be easier than you think! It’s a great DIY project and can transform a space. These days there are so many beautiful designs to choose from.
Before we go into the hanging of the wallpaper, lets’ talk about its purpose and options. Over the years, wallpaper has been an essential element of interior design. It adds personality, texture and colour to our living spaces. It’s a great choice for those looking to make a statement in their homes, however we do need to take into consideration evolving trends when making our selections.
There are an array of textures, colours, patterns and materials available these days. It’s crucial to choose the right wallpaper for your space.

Which Room Is Your Wallpaper To Be Hung?
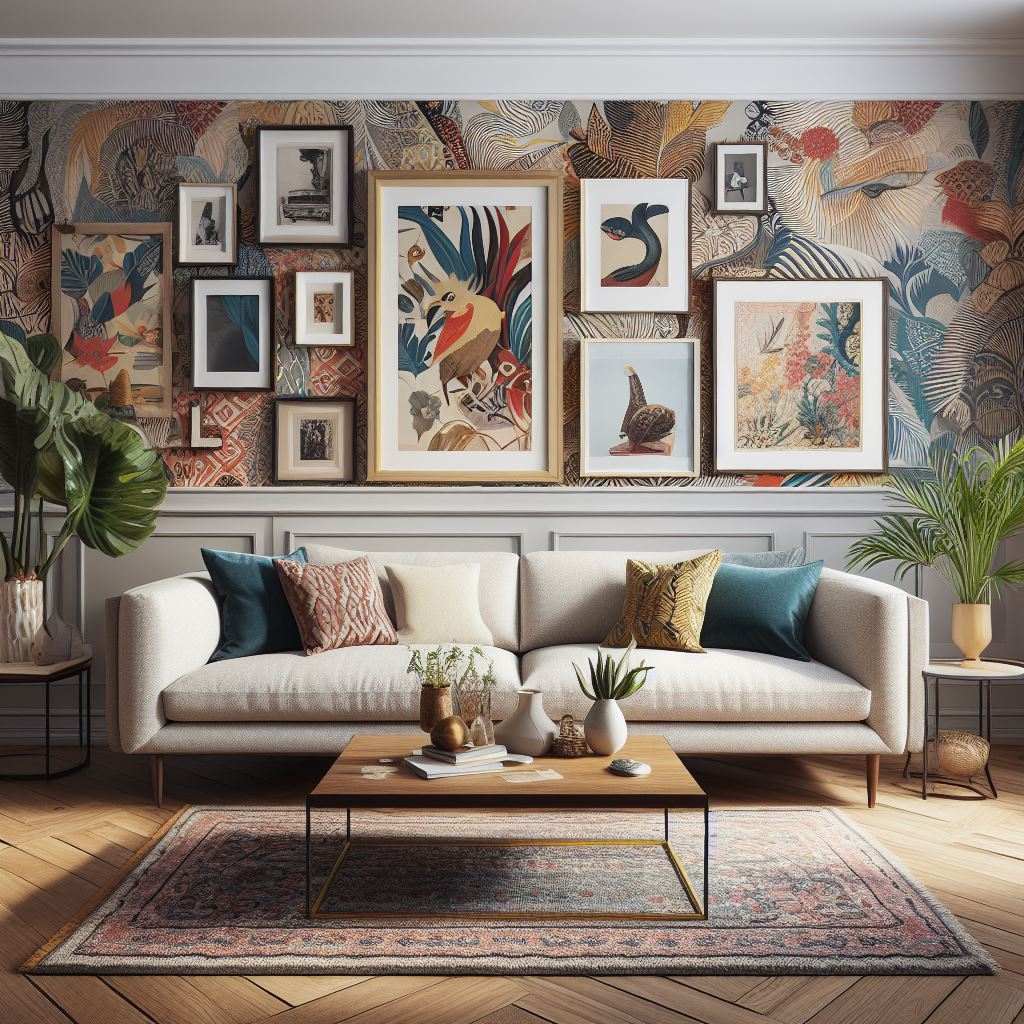
Think about the function and purpose of the room you are wanting to install the wallpaper into. Different rooms will have different requirements. For example, a feature wall in your living room may look amazing with a bright, bold wallpaper. But the same paper may be too overwhelming if used in a bedroom.
Getting the pattern scale correct is crucial in achieving a balanced aesthetic. Larger rooms generally take well to experimenting with larger patterns. As such, smaller patterns or textures work best in smaller spaces.
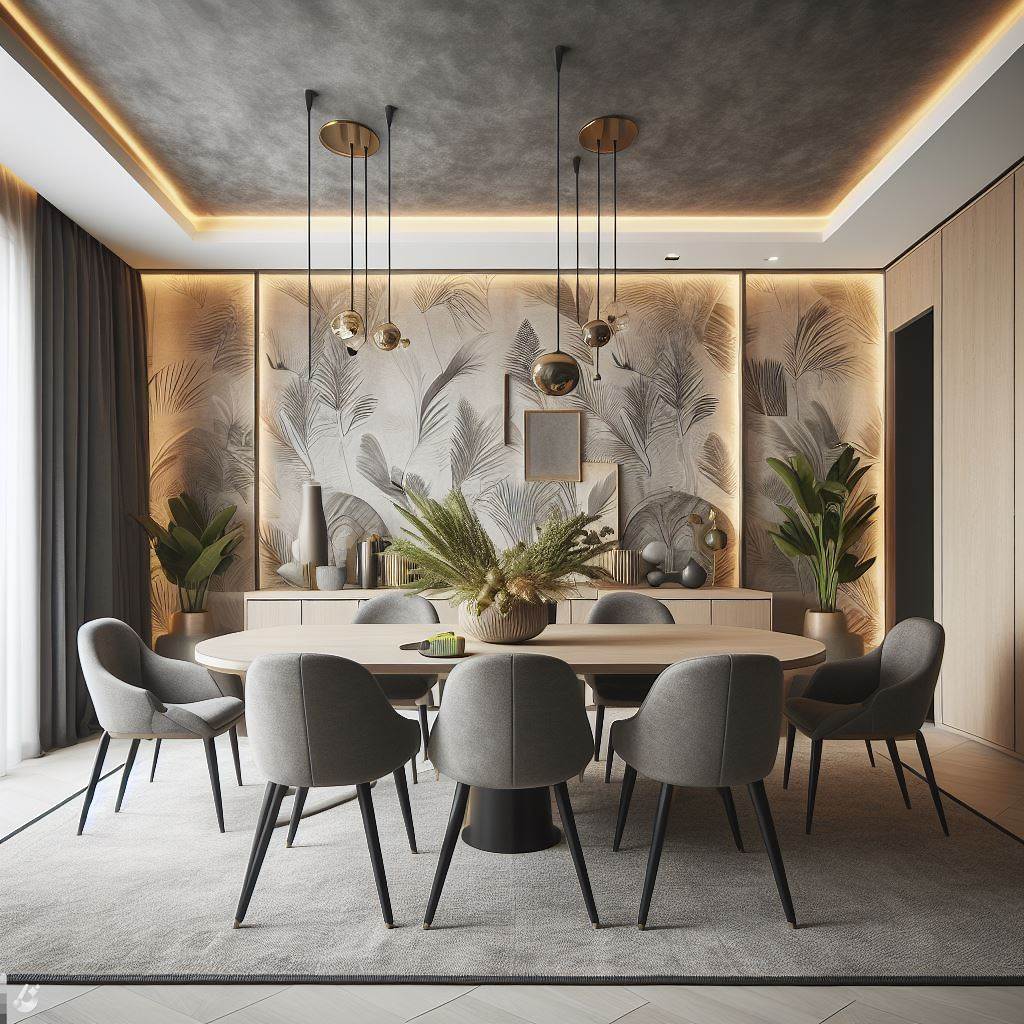
Harmonising your wallpaper with the existing colour scheme of a room is essential. And create a cohesive look by ensuring your colour choices complement your furniture items. Lighter wallpapers can help to create an open, airy ambience in contrast to darker wallpapers absorbing light. Again, consider the function of your space for this one.
Wallpapers are available in a wide variety of materials such as fabric, vinyl and paper. Each of the different finishes have their pros and cons. For example, vinyl is easy to clean and is durable. While fabric can add soft texture to a space but will require more care and maintenance. Think practicality of a room to help with your choice here.
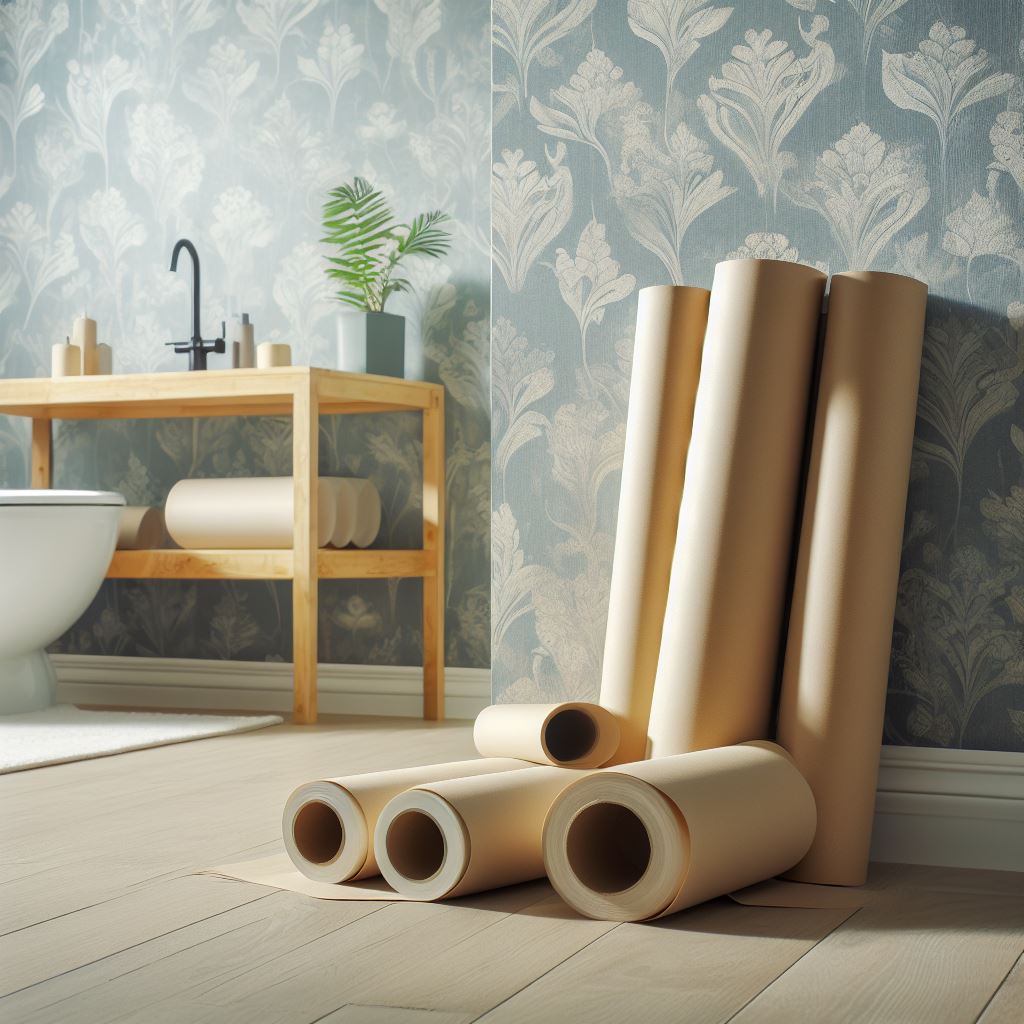
Be sure to measure your walls and calculate how many rolls you will need. Keeping in mind any possible wastage due to pattern repeats.

Hanging wallpapers for beginners
Ok, the key to putting up wallpaper successfully is good planning and knowing some trade tricks. This can help you trim the wallcovering with ease and also achieve smooth seams and corners. Our guide will give you clear explanations and simple step-by-step tips for successful wallpaper hanging.
If it’s your first attempt at installing wallpaper then try using a lining paper first.
Not only will it give you the perfect surface to hang your ‘finished’ wallpaper on it will also give you some invaluable practice.
For beginners Vinyl wallcoverings are the easiest to hang as they can be washed and are more durable. Handle other wallpapers more carefully as they are harder to install so just pay close attention to the instructions.
Preparing The Walls
Of course, preparation is key with anything. Clean down your walls with a sponge and mild suitable detergent to remove and dirt or dust. Once dry, repair any holes or cracks with an appropriate product and follow instructions to sand back to create a smooth surface for wallpaper to adhere to.
Before starting the following steps, make sure you have a long work-table or space on the floor ready with a clean plastic painters’ tarp.

8 easy steps to installing wallpaper
Step 1. Strip existing wall covering before installation of new ones. Wipe the wall with tack cloth. Fill holes or blemishes in the existing wall using a drywall joint applied with a putty knife
Step 2. Prepare wall surface by sandpapering the wall to smooth any imperfections. Apply a coat of wallpaper primer.
Step 3. If you’re making a shape like an arch trim wallpaper on a cutting mat with a utility knife.
If you’re papering a whole wall, cut vertical strips 4 inches longer than the wall height; once the paper is up, you’ll trim the excess.
Arrange wallpaper strips side by side on the floor to ensure that the pattern lines up correctly, gently taping them together with painter’s tape to temporarily secure them.
Step 4. Pour premixed clear wallpaper glue into a paint roller tray. Use a small paint roller to apply it quickly and evenly to the back of the paper.
If your wallpaper comes pre-pasted, you can just dampen it according to the manufacturer’s instructions.

Step 5. Apply the paper one strip at a time, smoothing each onto the wall from the centre outward using an 8-inch plastic smoother. For long strips, use a stepladder and work from the top down; have someone hold the other end as you position it (use this same method for wide chair-rail strips).
The seams of side-by-side strips should butt against one another, not overlap; make sure these seams lie flat by using a seam-roller.
Step 6. Once a piece is up, you have about 10 to 15 minutes to perfect its placement. Carefully push any bubbles out toward the borders.
Step 7. Wash off excess glue with a damp natural sponge, continuing to smooth the wallpaper as you go.
Step 8. Trim excess wallpaper from edges using a sharp knife then you can apply a thin layer of clear wallpaper seam sealer to them for added durability.
Step 9. RELAX YOUR FINISHED! Celebrate with a glass of wine in your new decorated space.

Make sure you follow these steps to help you attain a professional-looking job. Practice makes perfect!
If in doubt why not call a professional decorator and get a quote, you may be surprised how reasonable it is, especially if you do the preparation!


Leave A Comment Or Ask A Question